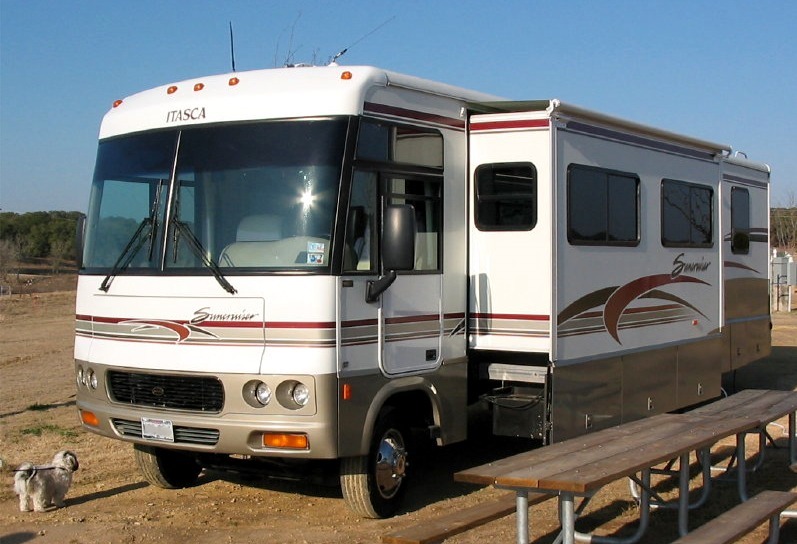
 With warmer temperatures starting to become more common, it’s time to think about de-winterizing your RV. Getting your RV ready for spring involves more than removing anti-freeze from your plumbing. If your RV has been in storage for several months, here are some things to keep in mind as you get it ready for camping season.
Of course, removing the anti-freeze from your system is probably the biggest step in de-winterizing your motorhome. The anti-freeze will need to be flushed out of the system, using your water pump. If there’s anti-freeze in the fresh water tank, make sure that is drained out first. Once it’s filled with fresh water, turn on the faucets, starting with the ones furthest from the tank. This includes showerheads as well. The toilet should be flushed several times to keep the water flowing in and the anti-freeze flowing out. Keep going until the water runs clear and there is no more pink anti-freeze. Then shut all the faucets off. Make sure your water heater is no longer being bypassed. Once that is done, you’re still not finished with the plumbing, as it needs to be sanitized. A bleach solution of ¼ cup in one gallon of water for every 15 gallons of a fresh water tank will ensure any pathogens are eliminated. This is pumped through the plumbing system in the same way. When you start to smell bleach, shut the faucets off and let it sit for at least 4 hours (but no more than 12). Afterwards flush the system as you did with the anti-freeze until you no longer smell bleach.
As stated earlier, the plumbing system is only part of it. For one thing, it’s a good idea to check the exterior for potential leaks. Check your tire pressure, as tires can lose inflation even when they’re not in use. If your RV has an engine, you’ll want to make sure all the fluids are topped off and that the batteries are fully charged. Put back your propane tanks and inspect those connections for leaks as well. Get up on the roof and inspect the seams around your rooftop accessories. While you’re up there, it’s a good time to treat it and
seal it as well. Inspect vents and other openings for evidence of animals, birds, insects, or their nests. Make sure they haven’t been able to get inside your rig some other way. Once everything passes inspection, give the outside a good wash and waxing.
Now moving on to the inside, check all of your cabinets, drawers, and closets for evidence of pests. Inspect the interior plumbing for leaks if you haven’t already while you were flushing the plumbing system. Put in new batteries for your smoke, CO, and LP gas detectors and test them to make sure they work. Take a look at your electronics and appliances, make sure they are working properly. You can also work on stocking supplies for your bathroom and kitchen. Check the first aid kit and see if your fire extinguisher needs replacing. Take a look at your roadside emergency kit and make sure it has everything. Then, just like with the outside, give the interior a spring
cleaning!
If you live in an area that stays cold longer, you should wait to de-winterize until the temperatures consistently remain above freezing. While you are getting your RV ready, you can also make sure all your paperwork is in order, including licenses, registration, and insurance. Also take note of anything you’d want to add, upgrade, or replace so that when it’s time to head out on a camping trip, you have everything you need.
Getting Your RV Ready for Spring